

Tips to Use a Light Table Correctly for Inspection
Light tables are essential tools in various industries for detailed inspection work. Whether you’re in photography, design, engineering, or quality control, using a light table correctly can enhance accuracy and efficiency. Here are some practical tips to ensure you maximize the benefits of your light tables during inspection.
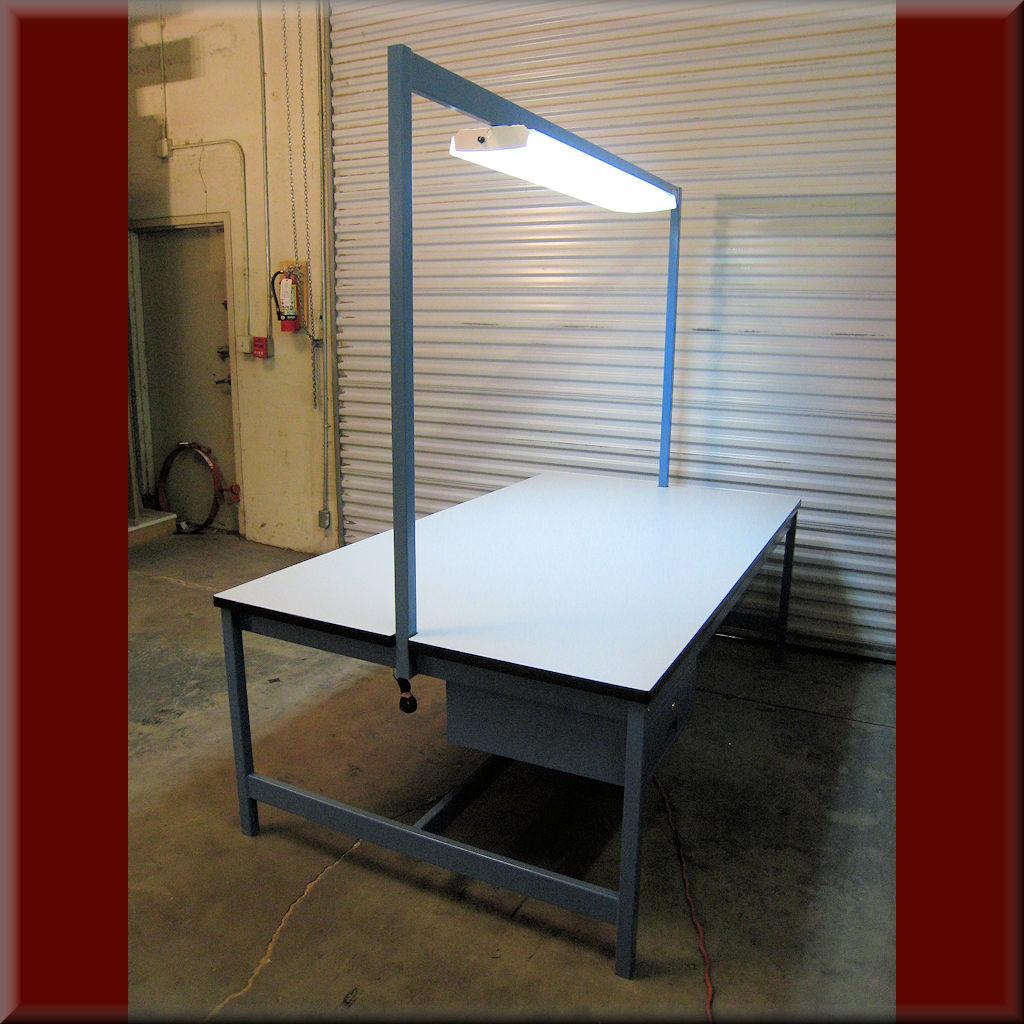
● Choose the Right Light Table
Selecting a suitable light table is the first step, which depends on the manufacturer. Ensure the light table is large enough to accommodate the items you need to inspect. Opt for a light table with adjustable brightness to suit different inspection needs. LED light tables are popular due to their energy efficiency and longevity. Depending on your workplace, you might need a portable light table for flexibility.
● Setup in a Proper Environment
Place your light table in a well-lit area with minimal glare. The surrounding light should complement the table’s illumination, reducing eye strain and enhancing visibility. Make sure the table is on a stable surface to prevent any movement that could affect your inspection work.
● Adjust the brightness
Different inspection tasks may require varying light intensities. Start by setting the light to a medium brightness level and adjust as necessary. Righter settings are typically better for detailed work, while lower settings may be sufficient for less intricate inspections. Always avoid excessively bright settings that could cause eye strain over prolonged use.
● Maintain a Clean Workspace
Keep the surface of the light table clean and free of dust, smudges, or debris. A dirty surface can obscure details and reduce the effectiveness of the inspection. Regularly wipe the table with a soft, lint-free cloth and a gently cleaning solution suitable for the table’s material.
● Use Magnification Tools
For tasks requiring high precision, such as examining film negatives or circuit boards, magnification tools like loupes or magnifying glasses can be invaluable. These tools help you see minute details clearly, ensuring thorough inspection.
● Organize Your Materials
Arrange your materials neatly before starting the inspection. This not only helps in maintaining focus but also prevents damage to delicate items. Use trays or folders to keep everything organized and easily accessible.
● Take Regular Breaks
Prolonged use of a light table can cause eye strain and fatigue. Follow the 20-20-20 rule: every 20 minutes, take a 20-second break and look at something 20 feet away. This practice helps reduce eye strain and maintains your productivity over long inspection sessions.
● Understand the Material You’re Inspecting
Different materials require different approaches for effective inspection. When inspecting film or slides, pay attention to color balance, exposure, and any signs of deterioration. Look for consistency in color and texture. The light table can help identify any flaws or discrepancies. Inspect components for defects, alignment, and adherence to specifications.
● Stay Updated with Technology
Advancements in technology can enhance the functionality of light tables. Some modern light tables come with features like digital displays and connectivity options for transferring inspection results to a computer. Stay informed about new tools and techniques that can improve your inspection process.
Conclusion
Using a light table correctly for inspection involves selecting the right equipment, maintaining an organized and clean workspace, and utilizing appropriate tools and techniques. By following these tips, you can ensure that your inspection tasks are carried out efficiently and accurately, leading to better results and higher quality in your work.