

Super apps like Gojek have revolutionized the way we access services. A single app can now provide a variety of services—ranging from ride-hailing and food delivery to payments and shopping. If you're an entrepreneur looking to build your own Gojek-like app, you're in the right place! In this step-by-step guide, we'll take you through the entire process of creating your own Gojek clone. From planning to development, testing, and launch, this comprehensive guide will cover everything you need to know.
Why Build a Gojek Clone?
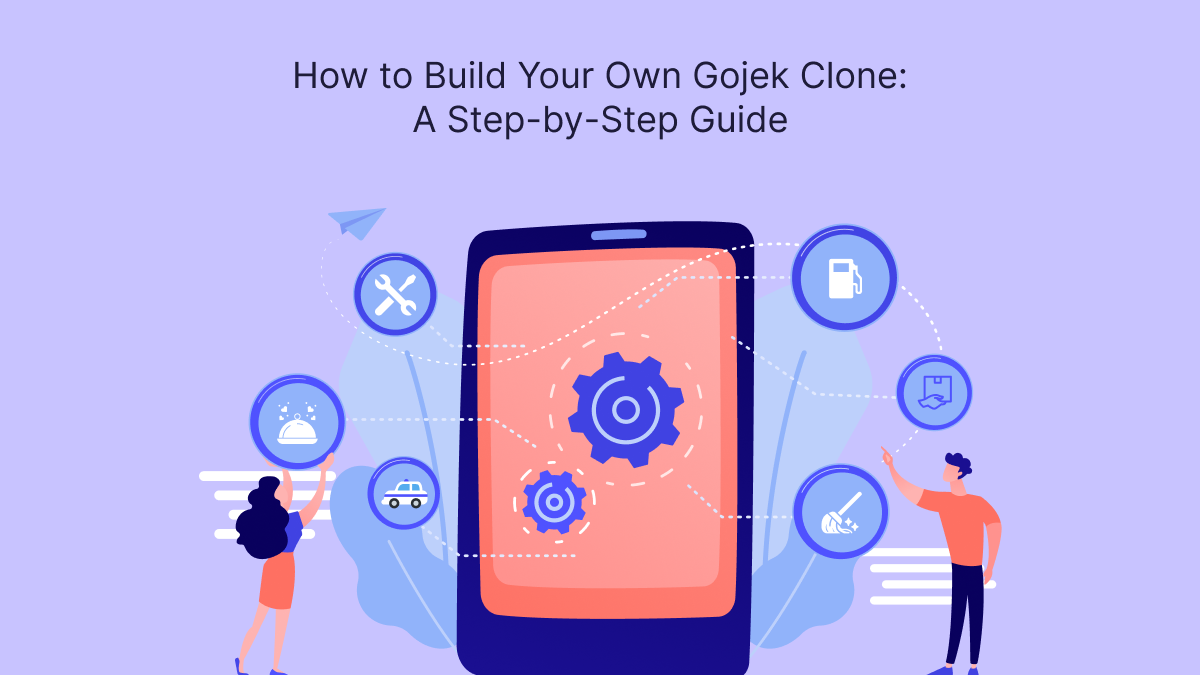
What is a Gojek Clone?
A Gojek clone is a super app that replicates Gojek's functionalities, offering multiple on-demand services like transportation, food delivery, grocery delivery, payment services, and more—all in one platform. Building a clone allows you to tap into the increasing demand for convenience and speed by offering an all-in-one solution to users in your market.
The Growing Demand for Super Apps
Super apps like Gojek have become indispensable in today’s fast-paced world. According to market trends, the demand for on-demand services is skyrocketing, especially in emerging markets where access to various services through one platform adds incredible value. Building a Gojek-like app could allow you to capture significant market share, create a loyal user base, and generate revenue through various channels.
Step-by-Step Guide to Build Your Own Gojek Clone
Step 1: Research and Planning
The first step in building a Gojek clone is comprehensive research and planning. This stage lays the foundation for everything that follows, so it's crucial to get it right.
Market Research
Before diving into development, you need to understand your target market. Identify the primary services that are in demand in your area. For example, in some markets, ride-hailing services might dominate, while in others, food delivery might be the most lucrative service. Research your competitors (such as Uber, Grab, or Gojek itself) and analyze what features work well for them and what areas they are lacking.
Define Your Business Model
The next step is to define how you will monetize your app. You can opt for a commission-based model, where you take a percentage from each transaction, or a subscription-based model, where users or service providers pay a recurring fee to use the platform. Alternatively, you can implement both models, depending on the service type.
Key Features to Include
Your app should encompass various essential features to ensure a smooth user experience:
- User Features: Registration, service categories, GPS tracking, payment options, push notifications, ratings, and reviews.
- Provider Features: Registration, job notifications, job acceptance/rejection, earnings dashboard, GPS navigation.
- Admin Panel: User management, service provider management, transaction monitoring, real-time analytics.
Choose the Right Technology Stack
For seamless app development, you need to choose the appropriate technology stack.
- Frontend: React Native, Flutter (for cross-platform app development)
- Backend: Node.js, Python (Django/Flask), or Ruby on Rails
- Database: PostgreSQL, MySQL, or MongoDB
- Cloud: AWS, Google Cloud, or Azure for hosting and storage
Step 2: UI/UX Design
Design plays a pivotal role in how users will interact with your app. A seamless user experience will keep users engaged and returning for more services.
Wireframes and Mockups
Begin by creating wireframes for each screen of the app. This will help you visualize how users will navigate through various features and services. Design tools like Figma or Adobe XD are used to create these wireframes and later transform them into high-fidelity mockups.
User Experience (UX)
Keep the user journey as smooth as possible. Whether a user is ordering food or booking a ride, ensure that the process is intuitive and requires minimal steps.
Prototyping and Testing
Once your designs are ready, create an interactive prototype using tools like InVision or Marvel. Share this prototype with a small group of users to gather feedback before starting development.
Step 3: App Development
After finalizing the design, move on to the development phase. You will need to develop separate apps for users and service providers, along with an admin dashboard.
Frontend Development
The front end involves building the user interface and the experience part of the app. Use frameworks like React Native or Flutter to create cross-platform apps, which will allow you to release your app on both iOS and Android simultaneously.
Key tasks include:
- Building the service categories (ride-hailing, delivery, etc.)
- Implementing GPS tracking and real-time updates
- Integrating a secure payment gateway like Stripe or PayPal
Backend Development
The backend handles the server-side logic, databases, and APIs. It will process requests from the front end, manage data storage, and provide real-time updates to users. Popular backend frameworks include Node.js or Django, while you can use MongoDB or PostgreSQL for your database.
Key tasks include:
- Building the APIs for communication between frontend and backend
- Implementing WebSockets for real-time tracking
- Ensuring secure data storage for user information, service requests, and payments
Admin Panel Development
Your admin panel will act as the control center for your app. Here, you can manage users, track transactions, and generate reports. A web-based admin panel can be developed using frameworks like React or Angular alongside a Django or Express.js backend.
Step 4: Testing and Quality Assurance
Testing is a critical step to ensure that your app functions smoothly and without errors.
Unit Testing
Test individual units of your app—like specific features or functions—to ensure they work as expected.
Integration Testing
Test how different parts of the app (for example, user requests, payment processing, and notifications) work together. This ensures smooth user journeys across multiple services.
User Acceptance Testing (UAT)
Invite real users to beta-test your app. Gather feedback on usability, performance, and any bugs that need fixing before the official launch.
Step 5: Launch and Deployment
With testing complete, you’re ready to launch your Gojek clone app.
Deploying Backend
Use cloud service providers like AWS, Google Cloud, or Azure to host your backend infrastructure.
Publishing Apps to Stores
Submit your app to Google Play (for Android) and the Apple App Store (for iOS). Ensure that your app meets the guidelines set by these platforms to avoid rejections.
Marketing and Promotion
Create a marketing strategy to promote your app. Use digital marketing techniques such as social media campaigns, influencer marketing, email marketing, and paid ads. Offering initial discounts or promotions can help attract early users.
Step 6: Post-Launch Maintenance and Updates
The launch is just the beginning! Continuous maintenance is required to keep your app running smoothly and to stay competitive.
Fixing Bugs and User Feedback
Monitor the app for bugs and fix them promptly. User feedback can be invaluable in improving the app's performance and features.
Adding New Features
As your app grows, consider adding more services or features, such as in-app advertising, loyalty programs, or integrating more local services.
Conclusion
Building a Gojek clone is a complex but rewarding process. By following this step-by-step guide, you can create a multi-service app that meets the needs of users and service providers alike. From market research and planning to design development, and post-launch updates, each stage is essential to building a successful platform. Discover how to create your own Gojek clone with this detailed step-by-step guide! Learn from the best on-demand app development company and kickstart your business today. With the right technology, thorough testing, and strong marketing efforts, you can launch your own Gojek-like app and capture a growing market of on-demand services.